As a coffee business owner, ensuring consistency and quality in every cup is important. Yet, there are times when unexpected challenges arise, such as grinder malfunctions or the need to prepare coffee on the go without your trusted coffee equipment.
In such situations, having the knowledge of alternative methods to grind coffee beans can be invaluable. In this guide, we explore five straightforward techniques to grind coffee beans without a grinder.
Whether you’re facing a grinder breakdown during peak hours or simply seeking versatility in your coffee preparation methods, these methods will equip you with the knowledge to maintain your standards and serve exceptional coffee to your customers.
Let’s delve into these practical solutions on how to grind coffee beans without a grinder that blends innovation with tradition to keep your coffee business running smoothly.
Method 1: Using A Blender
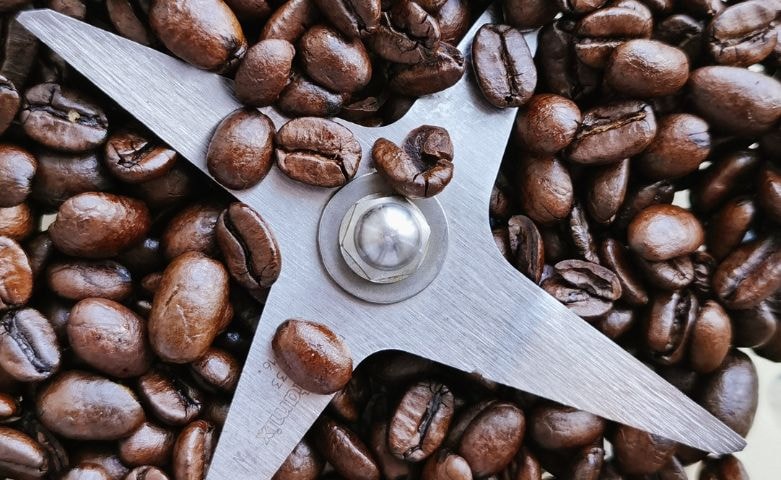
Blenders can serve as versatile tools for grinding coffee beans when a coffee grinder is not available. This equipment operates similarly to a coffee grinder, utilising blades to chop and grind the beans to the desired size.
Most household blenders come with different speed settings and pulse functions, allowing you to control the coarseness of the coffee grind. The high-speed rotating blades of a blender can quickly break down coffee beans, making it a convenient alternative.
Just keep in mind that using a blender may produce a slightly uneven grind compared to dedicated coffee grinders, but this equipment offers a quick and accessible alternative in a pinch.
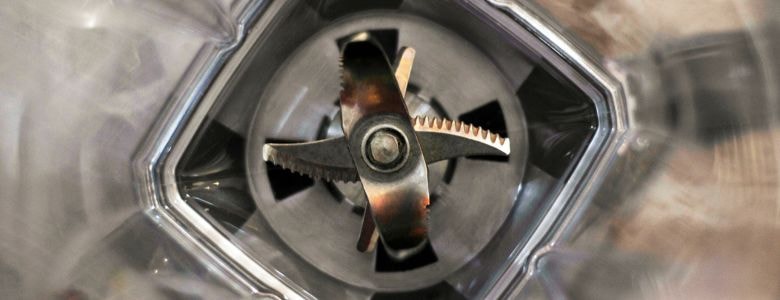
Process of Grinding Coffee Beans Using A Blender
- Measure the Beans. Start by measuring the desired amount of coffee beans and placing them in the blender.
- Press Pulse Control. Only pulse the blender in short bursts (3-5 seconds), rather than running it continuously. This is to avoid overheating the oil of the beans and ensure an even grind.
- Monitor the grind size closely. Check your coffee beans frequently to achieve the desired consistency, whether coarse for French press or fine for espresso.
- Adjust the duration and intensity of blending. This can help tailor the grind to your specific brewing needs, making it a reliable method for maintaining coffee quality when traditional grinding equipment is unavailable.
- Transfer to Storage: Once the beans are ground to your liking, use a spoon to transfer the coffee grounds to an airtight container. This will help preserve the freshness and flavour.
- Repeat in Batches: For larger amounts of coffee, repeat the grinding process in smaller batches to avoid overloading the blender.
Method 2: Using A Food Processor
If you don't have a blender, using a food processor is an excellent alternative for grinding coffee beans. A food processor is a kitchen appliance designed for chopping and blending, and it can also be effectively used to grind coffee beans.
Compared to blenders, food processors typically have sharper blades, which can produce a more consistent grind that's suitable for a variety of coffee brewing methods. However, as with blending, it's important to monitor the grind size closely to achieve the desired texture, whether you need a coarse grind, medium grind, medium-fine grind, or fine grind.
One key advantage of using a food processor is its larger capacity compared to blenders. This makes it a suitable option for grinding larger batches of coffee beans, which can be particularly beneficial in a commercial coffee business setting where volume may be an important consideration.

Process of Grinding Coffee Beans Using A Food Processor
- Gather Supplies: You'll need whole coffee beans, a food processor, and an airtight container to store the ground coffee.
- Measure Beans: Decide how much coffee you want to grind. A good rule of thumb is 2 tablespoons of whole beans per 6 oz cup of brewed coffee.
- Add Beans to Food Processor: Pour the whole coffee beans into the bowl of the food processor. Avoid overfilling - it's best to grind in smaller batches.
- Grind the Beans: Secure the lid and pulse the food processor in short bursts. This helps avoid overheating the beans and creating a powdery grind. Pulse for 3-5 seconds at a time, checking the consistency in between. You want a medium to coarse grind for most brewing methods.
- Check the Grind: Open the food processor and check the coffee grounds. If they are not at your desired fineness, pulse again in short bursts until you reach the right texture.
- Transfer to Storage: Once the beans are ground, use a spoon to transfer the coffee grounds to a container. This helps preserve the freshness and flavour of the ground coffee beans.
- Repeat as Needed: For larger amounts of coffee, repeat the grinding process in batches. Be careful not to overload the food processor.
By utilising a food processor in this manner, you can maintain the quality and consistency of your coffee even when faced with unexpected equipment challenges. It's a reliable alternative that blends convenience with effectiveness, ensuring you can continue to deliver excellent coffee experiences to your customers without interruption.
Method 3: Using A Mortar and Pestle
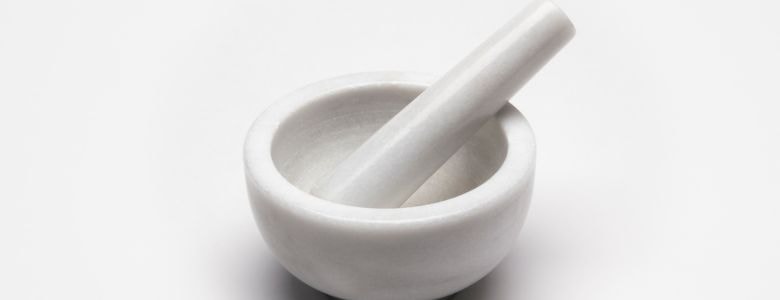
For those who prefer a more hands-on approach or need to grind whole bean coffee in smaller quantities, a mortar and pestle can be a simple yet effective tool. This method dates back centuries and offers a manual way to grind your own coffee beans to your desired consistency.
Grinding beans with a mortar and pestle may require some physical effort and patience, especially if you're grinding a larger quantity. However, the process can be quite meditative and rewarding for those who enjoy a hands-on approach to coffee preparation.
One of the key benefits of using a mortar and pestle is its simplicity and ease of cleaning. Unlike electric appliances or drip coffee machines, there are no complicated parts or motors to worry about, making it a reliable choice for grinding coffee beans in rustic or outdoor settings.
While it may not be as fast or as consistent as electric grinders, the mortar and pestle method exemplifies a traditional method that has stood the test of time. It's ideal for situations where electricity or modern appliances are unavailable, yet you still want to enjoy freshly ground coffee.
Process of Grinding Beans Using Mortar and Pestle
- Gather the Ingredients. You will need whole beans, a mortar (a sturdy bowl-shaped container), and a pestle (a club-shaped grinding tool).
- Clean the Mortar and Pestle. Before use, make sure the mortar and pestle are clean and dry.
- Add the Beans. Place the desired amount of whole beans into the mortar. Typically, you'll want to start with a small batch, around 1/4 to 1/2 cup of beans.
- Begin Grinding. Hold the pestle firmly using your dominant hand and use a circular or rocking motion to grind the beans against the sides and bottom of the mortar. Apply moderate pressure and continue grinding until the beans are reduced to a fine powder.
- Monitor the Texture. Check the texture of the ground beans periodically. Keep grinding until you achieve the desired consistency, which can range from a coarse grind to a fine powder, depending on your preferences.
- Remove the Ground Bean. Once the beans are ground to your liking, use a spoon or your fingers to transfer the ground beans to an airtight container or bag for storage.
- Clean the Mortar and Pestle. After use, clean the mortar and pestle thoroughly with warm, soapy water and dry them completely before storing.
Method 4: Using A Rolling Pin or Hammer
When faced with a coffee grinder malfunction or the absence of conventional grinding tools, improvisation becomes key. Using a rolling pin or hammer provides a practical solution for grinding coffee beans in a pinch, especially in environments where other methods may not be feasible.
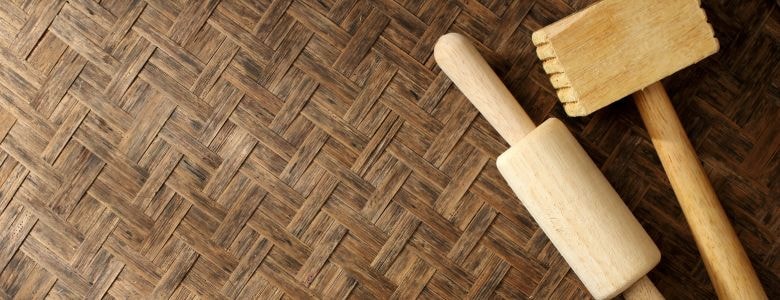
Process of Grinding Beans Using Rolling Pin or Hammer
Using a Rolling Pin:
- Gather the Ingredients. You will need whole beans, a sturdy cutting board or flat surface, and a rolling pin.
- Use parchment paper or plastic. Place a piece of parchment paper or plastic wrap over the beans to prevent them from flying around.
- Roll the Beans. Place the rolling pin on top of the beans and apply firm, even pressure as you roll the pin back and forth. Continue rolling until the beans are ground to the desired consistency.
- Adjust the Grinding. For a coarser grind, simply roll the beans a few times. For a finer grind, roll the beans more extensively.
- Transfer the Ground Beans. Once the beans are ground, use a spoon or your fingers to transfer the ground beans to an airtight container or bag for storage.
Using a Hammer:
- Gather the Ingredients. You will need whole beans, a sturdy surface (such as a cutting board or the back of a baking sheet), and a heavy-duty hammer.
- Use parchment paper or plastic. Place a piece of parchment paper or plastic wrap over the beans to prevent them from flying around.
- Place the Beans on the Surface. Spread the beans out in a single layer on the surface.
- Crush the Beans. Gently but firmly strike the beans with the hammer, being careful not to scatter them. Apply moderate pressure and continue hitting the beans until they are ground to the desired consistency.
- Adjust the Grinding. For a coarser grind, use fewer strikes. For a finer grind, strike the beans more times.
- Transfer the Ground Beans. Once the beans are ground, use a spoon or your fingers to transfer the ground beans to an airtight container or bag for storage.
While these methods may not provide the same level of precision or consistency as dedicated coffee grinders, they demonstrate resourcefulness and adaptability in coffee preparation. They ensure that even without specialised equipment, you can still enjoy freshly ground coffee and maintain your coffee standards wherever you may be.
Method 5: Using A Knife and Cutting Board
When faced with the challenge of grinding coffee beans without a coffee grinder, a knife and cutting board can be a surprisingly effective solution. This method requires a bit of patience and precision but it can produce a satisfactory grind suitable for various brewing methods.
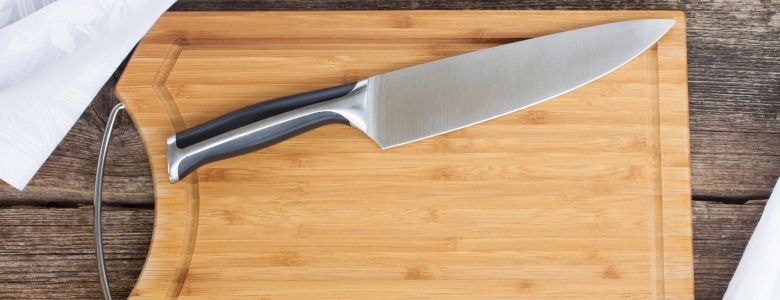
Process of Grinding Beans Using A Knife and Cutting Board
- Gather the Supplies. You'll need whole coffee beans, a sharp knife, and a sturdy cutting board.
- Measure the Beans. Decide how much coffee you want to grind.
- Place the Beans on the Cutting Board. Spread the coffee beans out in a single layer on the cutting board.
- Crush the Beans. Using the flat side of the knife blade, press down firmly on the beans and rock the knife back and forth to crush them. Apply moderate pressure and repeat this motion several times until the beans are coarsely ground.
- Refine the Grind. If you prefer a finer grind, use the sharp edge of the knife to chop and mince the crushed beans. Slide the knife through the beans at an angle, chopping them into smaller pieces.
- Adjust the Grind. Check the consistency of the ground coffee. If it's too coarse, continue chopping with the knife. If it's too fine, you can gently press the beans with the flat side of the knife to break them up further.
- Transfer the Ground Coffee. Once you've achieved your desired grind, use the knife to scoop up the ground coffee and transfer it to your coffee maker or storage container.
Final Thoughts:
In conclusion, the five methods discussed in this guide provide practical solutions for grinding coffee beans without a coffee grinder, ranging from using household appliances like a blender or food processor to more hands-on techniques like mortar and pestle, rolling pin or hammer, and knife and cutting board.
Each method offers its unique advantages, whether it's convenience, adaptability, or simplicity, ensuring that you can maintain your coffee standards and enjoy fresh coffee grounds wherever you are. These methods not only serve as fallback options during equipment malfunctions but also highlight the ingenuity and resourcefulness that every coffee enthusiast and professional can employ in their pursuit of excellent coffee experiences.
By exploring these alternatives, you empower yourself to continue enjoying and sharing the pleasures of freshly ground coffee, no matter the circumstances.
Frequently Asked Questions:
What to do with coffee beans if I don't have a grinder?
If you don't have a grinder, you can use a blender, food processor, or even a rolling pin to crush the coffee beans. Alternatively, purchase pre-ground coffee from the store. Another option is to visit a local coffee shop and ask if they can grind the beans for you.
How do you grind coffee beans manually?
To grind coffee beans manually, use a mortar and pestle, or a rolling pin with a plastic bag. Place the beans in the mortar or bag, then crush them by applying steady pressure. Continue until you achieve the desired consistency.
Can you grind coffee beans in a blender or food processor?
Yes, you can grind coffee beans in a blender or food processor. Use short bursts to avoid overheating the beans and to get a more even grind. Be mindful that these appliances may not produce as uniform a grind as a dedicated coffee grinder.
Is it better to manually grind coffee beans?
Manually grinding coffee beans can produce a more consistent grind, which is crucial for good coffee extraction. It also allows for more control over the grind size. However, it can be time-consuming and labor-intensive compared to using an electric grinder.
How long should you grind coffee beans?
The duration of grinding coffee beans depends on the desired grind size. For a coarse grind, like for French press, grind for about 8-10 seconds. For a finer grind, like for espresso, grind for 15-20 seconds or until the desired consistency is reached.
