How to Make Plunger Coffee Like a Pro: 5 Easy Steps
Plunger coffee, also known as French press coffee, is a simple yet brilliant way to brew delicious coffee at home. It's a method that brings out the full range of flavours in your beans, resulting in a richer taste and lower acidity than other brewing methods. Today, we'll walk you through the steps on how to make plunger coffee that tastes like your favourite cafe.
Key Takeaways
- Fresh grounds are a game changer for French press coffee - forget pre-ground and give your grinder a workout for the best flavour.
- Water temp is crucial—let it cool off a bit after boiling to avoid scorching your grounds, or use a thermometer for an accurate temperature.
- Don't rush the plunge—give your brew about 4 minutes to steep, and when you do plunge, take it nice and slow for smoother and more delicious coffee.
Why is Plunger Coffee a Great Choice
Let me tell you why plunger coffee is the bee's knees. First, it's super easy to make and doesn't require any fancy equipment. All you need is to invest in a quality French Press - premium coffee plunger prices vary, but it’s worth getting a durable one.
Plus, it gives you full control over your brew, allowing you to adjust the strength to your liking. The plunger method also preserves the natural oils in the coffee, resulting in a fuller flavour that you just can't get with paper filters. It's perfect for when you want to slow down and really savour your cup of coffee at home.
Step 1: Gather Your Equipment and Ingredients
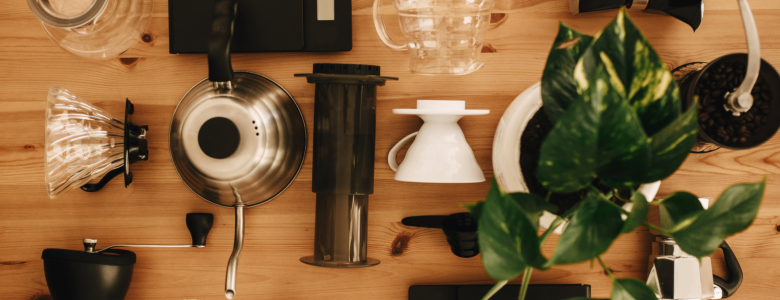
First, let’s gather everything you need to make plunger brew:
- A coffee plunger (French press)
- A kettle for boiling water (use filtered water for the best taste)
- A coffee grinder (if using whole beans)
- A kitchen scale for measuring
- A spoon for stirring
- A timer to track your brewing time
- Your choice of coffee beans
- Your favourite mug
For plunger coffee, you want beans that are medium to dark roast. These work a treat in bringing out those rich, complex flavours.
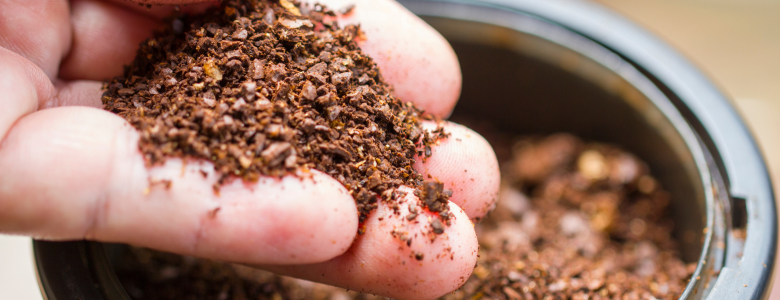
As for the grind, aim for a medium-coarse consistency. Too fine, and you'll end up with a nasty bitter taste and sediment in your cup.
Trust me, using freshly ground coffee makes all the difference. Pre-ground coffee loses its complexity quickly, so grinding your beans just before brewing ensures you're getting the most flavour out of them.
If you're grinding at home, pulse your coffee grinder in short bursts to get an even grind. Aim for a consistency similar to coarse sea salt. This will give you the perfect balance between extraction and filtration.
Step 2: Measure the Coffee and Water
Getting the right coffee ratio is essential for brewing the perfect cup of coffee. So, how much coffee do you need?
Many coffee lovers, especially here in Australia, tend to prefer a slightly weaker ratio, typically between 1:12 and 1:16. For a stronger brew, add more coffee—ideally a 1:10 ratio.
The measurements below will give you a good starting point for a balanced brew. Of course, the beauty of plunger coffee is that you can easily adjust to your personal taste. Some like it stronger, some weaker.
- 3-cup French Press (350 ml): Use about 2-3 tablespoons (20-30 grams) of coffee.
- 4-cup French Press (500 ml): Use about 3-4 tablespoons (30-40 grams) of coffee.
- 8-cup French Press (1 litre): Use about 6-8 tablespoons (60-80 grams) of coffee.
- 12-cup French Press (1.5 litres): Use about 9-12 tablespoons (90-120 grams) of coffee.
For water, fill your plunger to just below the metal band, leaving room for the plunger to do its job. You can also fill your mug first and pour it into the coffee plunger to ensure you're brewing the right amount.
Using a kitchen scale is tops for consistency. But if you're eyeballing it, remember that a heaped tablespoon of whole beans is about 5-7 grams, depending on the grind size and how heaped it is.
Step 3: Boil and Cool the Water

Water temperature plays a big role in the taste of your plunger coffee. Aim for between 92°C to 96°C (197°F to 205°F).
Boiling water can scald the coffee grounds, making it bitter. If it's too cool, you won't be able to extract enough flavour
Boil your water, then let it sit for about 30 seconds to a minute. If you're using a thermometer, check if the water is within the ideal range.
No thermometer? No worries. Just wait until the kettle stops steaming vigorously before pouring.
Step 4: Brew the Coffee

Now, let's talk about our brewing method. Put your fresh coffee grounds into the glass jar of your plunger. Give it a little shake to level it out.
Start by slowly pouring just enough hot water to cover the grounds—this is called the bloom. Let it sit for about 30 seconds—you'll see the coffee start to bubble and expand. Then, pour in the rest of the water, stirring gently to make sure all the grounds are fully saturated.
Pop the lid on and let your coffee sit for about 4 minutes. This steeping time allows for proper extraction, giving you a full-bodied cup without over-extracting and causing bitterness. If you like your coffee stronger, let it brew for an extra minute or so.
Step 5: Plunge and Serve
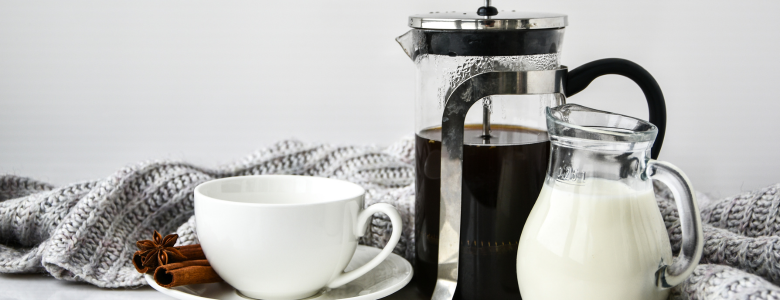
After the brew time is up, it's time to plunge. Apply steady pressure and push the plunger down slowly. If it's too hard to push, your grind might be too fine.
Too easy? Your grind might be too coarse. The whole process should take about 15-20 seconds.
Once you've plunged, serve immediately. Leaving the coffee in the plunger with the grounds will lead to over-extraction and a bitter taste. If you've made too much, pour it into a thermos to keep it warm.
Bonus Tips for Pro-Level Plunger Coffee
Want to take your plunger coffee to the next level? Here are some tips for brewing fresh coffee:
- Don't be afraid to try different beans and coffee roasts. A light roast might give you more delicate, floral notes, while a dark roast will provide a bolder, more intense flavour. Single-origin beans can offer unique taste experiences, while blends provide consistent, balanced flavours.
- Try adding a dash of cinnamon or a splash of vanilla to your grounds before brewing. For a real Aussie twist, chuck in a bit of wattleseed – it adds a nutty, chocolatey flavour that's bloody delicious.
- After each use, disassemble it and give all parts a good rinse with hot water. Now and then, give it a proper clean with mild detergent. A clean plunger means better-tasting coffee and a longer-lasting brew tool.
Troubleshooting Common Issues
Even pros encounter issues when using a coffee plunger. Here's how to fix common problems:
- Bitter or Weak Coffee Solutions: If your coffee's too bitter, try a coarser grind or shorter brew time. If it's weak, go finer on the grind or let it steep a bit longer. Remember, brewing great coffee is all about finding the right balance.
- Dealing with Sediments: A bit of sediment is normal with plunger coffee, but if you're getting too much, your grind might be too fine. Also, when pouring, leave the last bit in the plunger – that's where most of the sediment settles.
Summary
Brewing coffee with a plunger is easy. Our guide covers everything from choosing your beans and getting the right grind to nailing the perfect water temp and steeping time.
The beauty of this brew method is its simplicity - no fancy gear needed, just your trusty French press. Whether you're after a full-bodied cup or experimenting with cold brew, this guide's got you sorted. It even touches on troubleshooting common issues, so you can say goodbye to bitter brews and sediment-filled sips.
Don't be afraid to experiment and find what works best for you. With a bit of practice, you'll be brewing cafe-quality coffee in no time.
Frequently Asked Questions
How many scoops of coffee do you put in a plunger?
For an 8-cup French Press (1 litre), use about 3-4 scoops (6-8 tablespoons or 60-80 grams) of coffee.
What is the best way to make plunger coffee?
The best way to make plunger coffee involves using freshly ground coffee beans, a medium-coarse grind, a 1:16 coffee-to-water ratio, water at 92-96°C, and a 4-minute steeping time. Plunge gently and serve immediately for the best flavour.
How long should you leave coffee before plunging?
About 4 minutes is ideal for most plunger coffees. Adjust the time to make your brew stronger or weaker.
Can you use any ground coffee in a plunger?
Yes. However, pre-ground coffee may not give the quality and flavour of fresh coffee grounds.
